If you’re wondering how to vent a garage heater, you’ve come to the right place. A garage heater can be a highly effective and efficient way for you to keep this room warm during the colder months of the year, but there are considerations you’ll need to make in order to save money and stay safe. Here’s what you need to know.
What You'll Learn Today
Do Gas Garage Heaters Need to Be Vented?
You should vent a garage heater – whether it’s propane or natural gas – to make sure you get the best results.
Proper ventilation will not only help your heater function more efficiently but will also keep you safe.
Without the right ventilation, you run the risk of carbon monoxide poisoning. Adequate ventilation can help your heater get the oxygen it needs to operate correctly while also preventing you from getting sick – or worse.
How Do You Vent a Heated Garage?
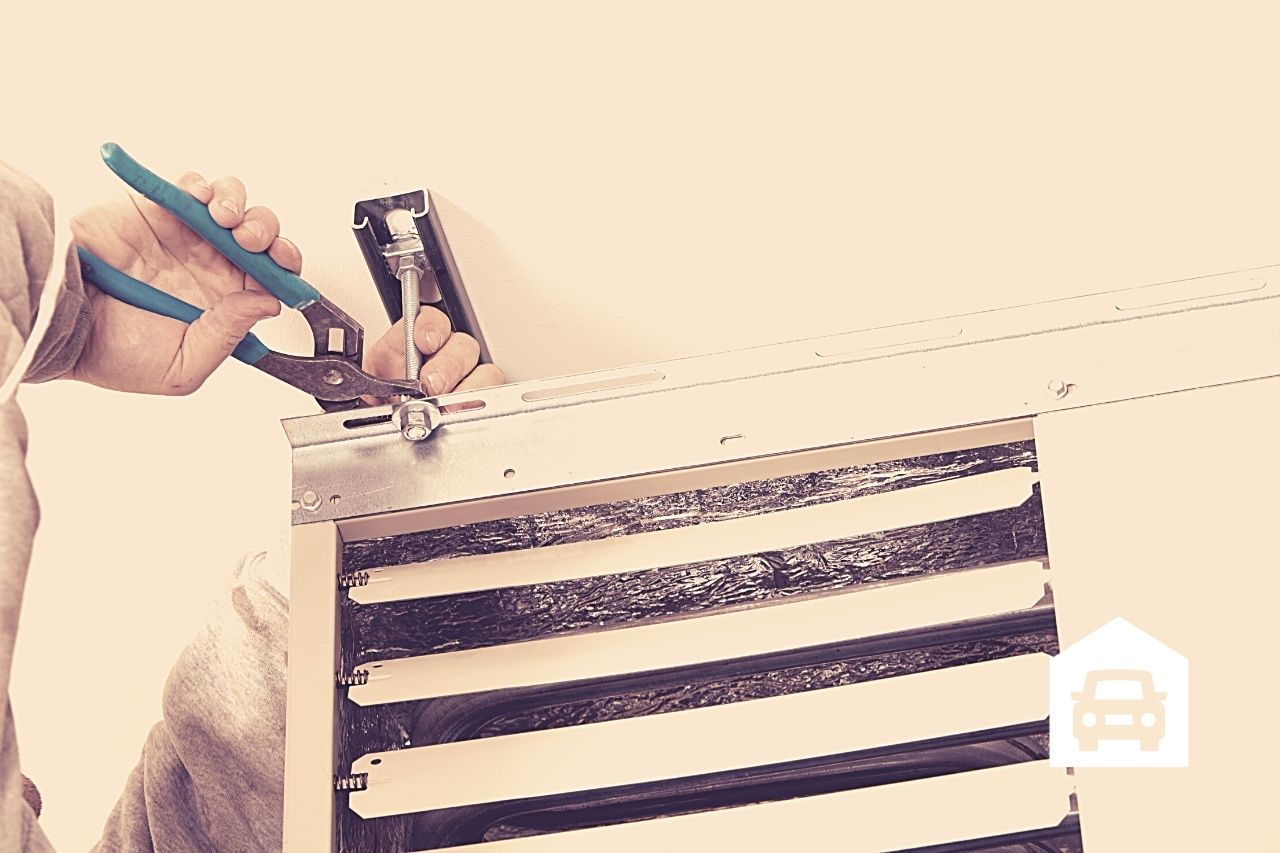
Here’s A step by step guide to help you properly vent a garage heater. Although you’ll need a professional to connect the heater to the house’s central line, you can otherwise do this task on your own in as little as an afternoon.
There are two main methods you can follow to vent a garage heater. One involves cutting holes and installing new ducts through the garage’s roof, while the other requires you to cut holes through the wall and mount the vent there.
A roof venting system is one of the easiest ways to vent the heater. Although this is a task that’s best done by a professional, it can be extremely expensive and cost-prohibitive to do this.
Either way, the processes are similar and require similar materials. Here’s what you should do.
1. Collect Your Materials
The first thing you need to do is gather the right materials for the job. Measure the length and diameter for your duct – it will need to fit in your heating flange.
The length of the duct system matters, too, so that you can cover the entire length from the heater to the exterior of the garage (regardless of whether you’re venting through the roof).
Measure your duct to make sure it matches the diameter of the heater’s flange. You’ll find the dimensions on your heater’s packaging or you can measure the heater instead.
You will also need a cap for the outside end of the venting system along with tools like a power drill and reciprocating saw (the latter two of which will help you cut the holes for your venting system).
You’ll need a ladder if you plan on venting through holes in the roof – this will help you reach into the taller spaces
Plumber’s tape can help you mount the ducts, while metal snips and a pair of screwdrivers will help you fix the vent in place.
2. Determine the Best Position
Draw an outline for the hole you want to drill in your roof. This will help you figure out how you can connect the vent to the heater and see where it will be taking up space on the roof.
Place a 90-degree duct elbow on the vent flange of the heater. Its opposite end should be on the ceiling. Use your pencil to draw a circle around the duct to show where it will be inserted in the roof sheathing, then draw a larger circle around that, about two inches larger.
This will show the clearing you’ll need to insert your duct into the roof.
3. Cut Your Holes
Next, you will need to cut your holes. Use your power drill to make pilot holes that are ¼ to ½ inches in diameter. These will exist around the perimeter of the circle that you already drew.
After drilling the pilot holes use your saw to make the actual cut. You can then remove the roof sheathing and place the duct in place. Make a hole of the same diameter in the roof flashing, then position the upper flange on the roof flashing, just below the shingles above the hole and near the roof peak.
4. Insert External Duct Piece
To make sure your duct runs in a straight line, align the hole in your roof with the one you made in the flashing. You’ll Need to sew the patches. To do this, insert the larger portion of the duct through the hole with about two feet of duct above the shingles.
Put your vent cap on the duct’s top end. Use your screwdriver to make sure the screws are tight, then head back inside to finish up.
5. Attaching the Middle Section
Next, you need to measure the distance between the duct portion that’s suspended from the roof at the 90-degree elbow attached to the garage heater. Measure the distance, then add 16 inches.
Screw one end of the plumber’s tape to the side of the rafter, then tightly wrap plumber’s tape around it. The bottom side of the duct should be aligned with the elbow extending from the header. Use another deck screw to secure the other side of the tape to the opposite side.
Now, if your middle piece connects your elbow and the duct that is suspended from the roof as it is, you can skip this next step. Otherwise, you may find that you have to add an extra piece of duct to connect the suspended piece to the elbow.
6. Connect Your Elbow
Your last step is to connect the elbow. To do this, use one-inch tapping screws, screwing along the elbow’s rim. Your ventilation system should now be ready to go!
How Do You Vent a Garage Heater to the Wall?

If you choose not to vent your garage heater to the roof, as described above, you can also do it through the wall. Most of the steps will be the same.
You’ll want to start by measuring the distance between the wall and the heater, then trace the outline just as you did above. You can use a drywall cutting knife to make a clean cut in the wall but your reciprocating saw should do the trick here, too.
When cutting into a wall, just make sure you cut the insulation behind the wall and that your hole extends all the way out through the exterior of the garage. Don’t skimp here – you want to make sure this part is done correctly.
You’ll insert the duct and attach any extra pieces just as you did before. The only difference it’s that for all of these tasks you’ll be working horizontally rather than vertically. You might need someone to hold the duct in place while you secure it.
Can You Run a Heater in a Closed Garage?
For all the reasons mentioned above (and then some!) running a heater in a closed garage is not the best idea. You need ventilation in case of emergencies – plus, venting your garage heater properly can save you money.
As you can see from the instructions detailed above, learning how to vent a garage heater isn’t a complicated process. Follow these steps and you’ll be successful in giving your heater the ventilation it needs!
Do you think it is possible to vent a garage heater myself? Do I need to hire a professional service?